


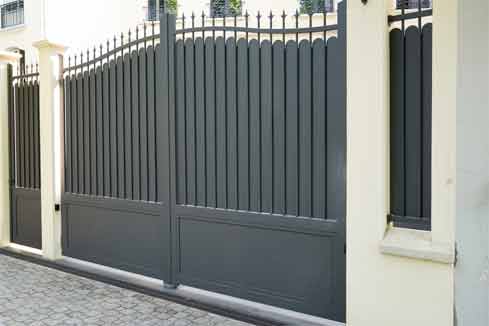
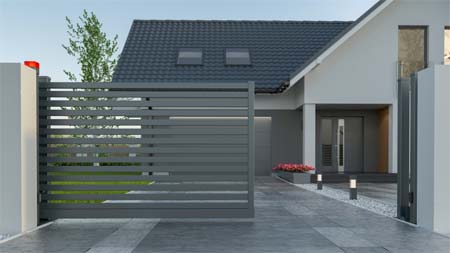
The ides of a gate are simple: it is an entryway that can be closed or locked. Gates have been used for centuries to keep people from entering the wrong areas, and they serve as a sign of prestige and security. In this article I will show you how to build your own steel gate in just a few hours.
Get Your Materials Ready!
You’ll need some metal and hardware, plus some heavy duty tools like a welder and grinder. The one we’ll be using is called MIG welding, which will connect the pieces of the steel together quickly and easily. We’re going to go with ½ inch thick steel plate for our project because it’s strong enough to withstand anything but not too heavy for one person to carry around. Visit at this website https://jasmineenterprise.com.bd/ for more details.
Measure and Mark your Steel
Start by measuring your door frame and marking where you’ll need the steel cut. It’s a good idea to add about 1 inch of space on each side for safety, but that all depends on what you’re using it for! If this is going over top your pool then only leave a few inches.
Cut Your Steel
Using your grinder and cutoff wheel carefully cut your steel to size. You want it to fit perfectly into the space you measured out earlier. If it’s too small then the pieces won’t sit together well and if it’s too big then they’re not going to line up properly with the door frame.
Clean the Edges
Once you’ve cut your steel to size, use your grinder or sandpaper to smooth out the edge. This will prevent any rash or irritation from happening if someone were to lean up against it over top their clothing.
Reassemble Your Gate
The next step is putting it all back together, but backwards. If you’re using the same door frame then it should fit almost perfectly into place. If not then you can use your grinder to shave off any parts that are overhanging past the frame. Once it’s in place you can drill screws through the hinges and tighten them with a screwdriver.
Mark Your Holes
Now that your gate is in place it’s time to mark the holes you’ll need to drill into the top of it. You can use a pencil or pen for this, just be sure you don’t press too hard because the marks will show on the steel!
Drill Your Holes
Using your heavy duty drill and appropriate sized bit, carefully drill through the steel into your marks. This is where using a step bit would come in very handy because you can adjust it depending on what size hole you need to drill out.
Set Your Hinges
Now that you’ve drilled your holes, use your hinge brackets to line up where they go and mark your holes. Remove the hinge and drill the same sized hole in each bracket and in the opposite side of the steel gate.
Set Your Hinges (Again)
Start by setting one of your hinges into place, making sure that it’s flush with the edge. Use your screws to attach it to both pieces of metal, and then repeat with the other hinge.
Test Your Gate
Now that all of your hardware is in place, it’s time to test out your gate! Make sure that everything works smoothly and then stand back and admire your handiwork.
Add Finishing Touches
Now you can add whatever finishing touches you’d like to. You can paint it or stain it, put your initials on the steel with a marker, or anything else you like.
Enjoy Your New Steel Gate!
Now that everything is finished and looks great, all you need to do is stand back and admire your fantastic new steel gate! If there’s any damage or issues you can always get back to this step and fix them, but it shouldn’t be necessary.
Conclusion
Now you know how to build a steel gate at home, with only a few tools. It’s not hard or time consuming, especially if you break the project down into smaller steps.

Jerry Martinez is a professional artist. He lives in California with his family. Throughout his life, he has always been captivated by images. Naturally, he was drawn to art. So he opted to take his Bachelors Degree in Fine Arts from Otis College of Art and Design. After completing his degree, He concentrated even more into his art practice. He is a father of three children, ranging in age from 3 to 12 years old. They love outdoors activities; biking, camping, walking and playing football. Jerry Martinez is a music lover and love to listen to metallic songs.


